Creating Interfaces
An interface is a unit that makes up the screen that users directly see, and in Manifest, these interfaces are represented as nodes to design the structure.
Types of Interfaces
The interfaces that make up the product are divided into four types: Page, Modal, Section, and Component, and connecting these nodes to create screen structures becomes the basic unit of planning.

1. Page
- Classification:
Screen Element - Can contain:
Section,Component
This is the basic unit of the product and the largest screen unit.
It can have composition elements (sections and components) as children.
It is always connected to the root node (document node).
- Home screen
- My page
- Product detail
2. Modal
- Classification:
Screen Element - Can connect children:
Section,Component
This is a popup-style screen that appears above the page. Like pages, it can have sections and components as children and is always connected to the root node (document node).
- Login popup
- Notification window
- Simple settings window
3. Section
- Classification:
Composition Element - Can connect children:
Component
This is an area that groups content with similar functions or themes within a screen. It can have components as children, and you can repeatedly place specific components within the section using the 'repeat' function.
- Top banner area
- Post list (repeating 'post' component)
4. Component
- Classification:
Composition Element - Can connect children:
Component
This is the smallest unit that makes up the screen. It can have other components as children and can be composed by directly connecting Information such as content or functions.
- Button
- Card
- Input field
Where can you create and modify them?
You can do this in the Inventory or Canvas.
✅ Creating in Inventory
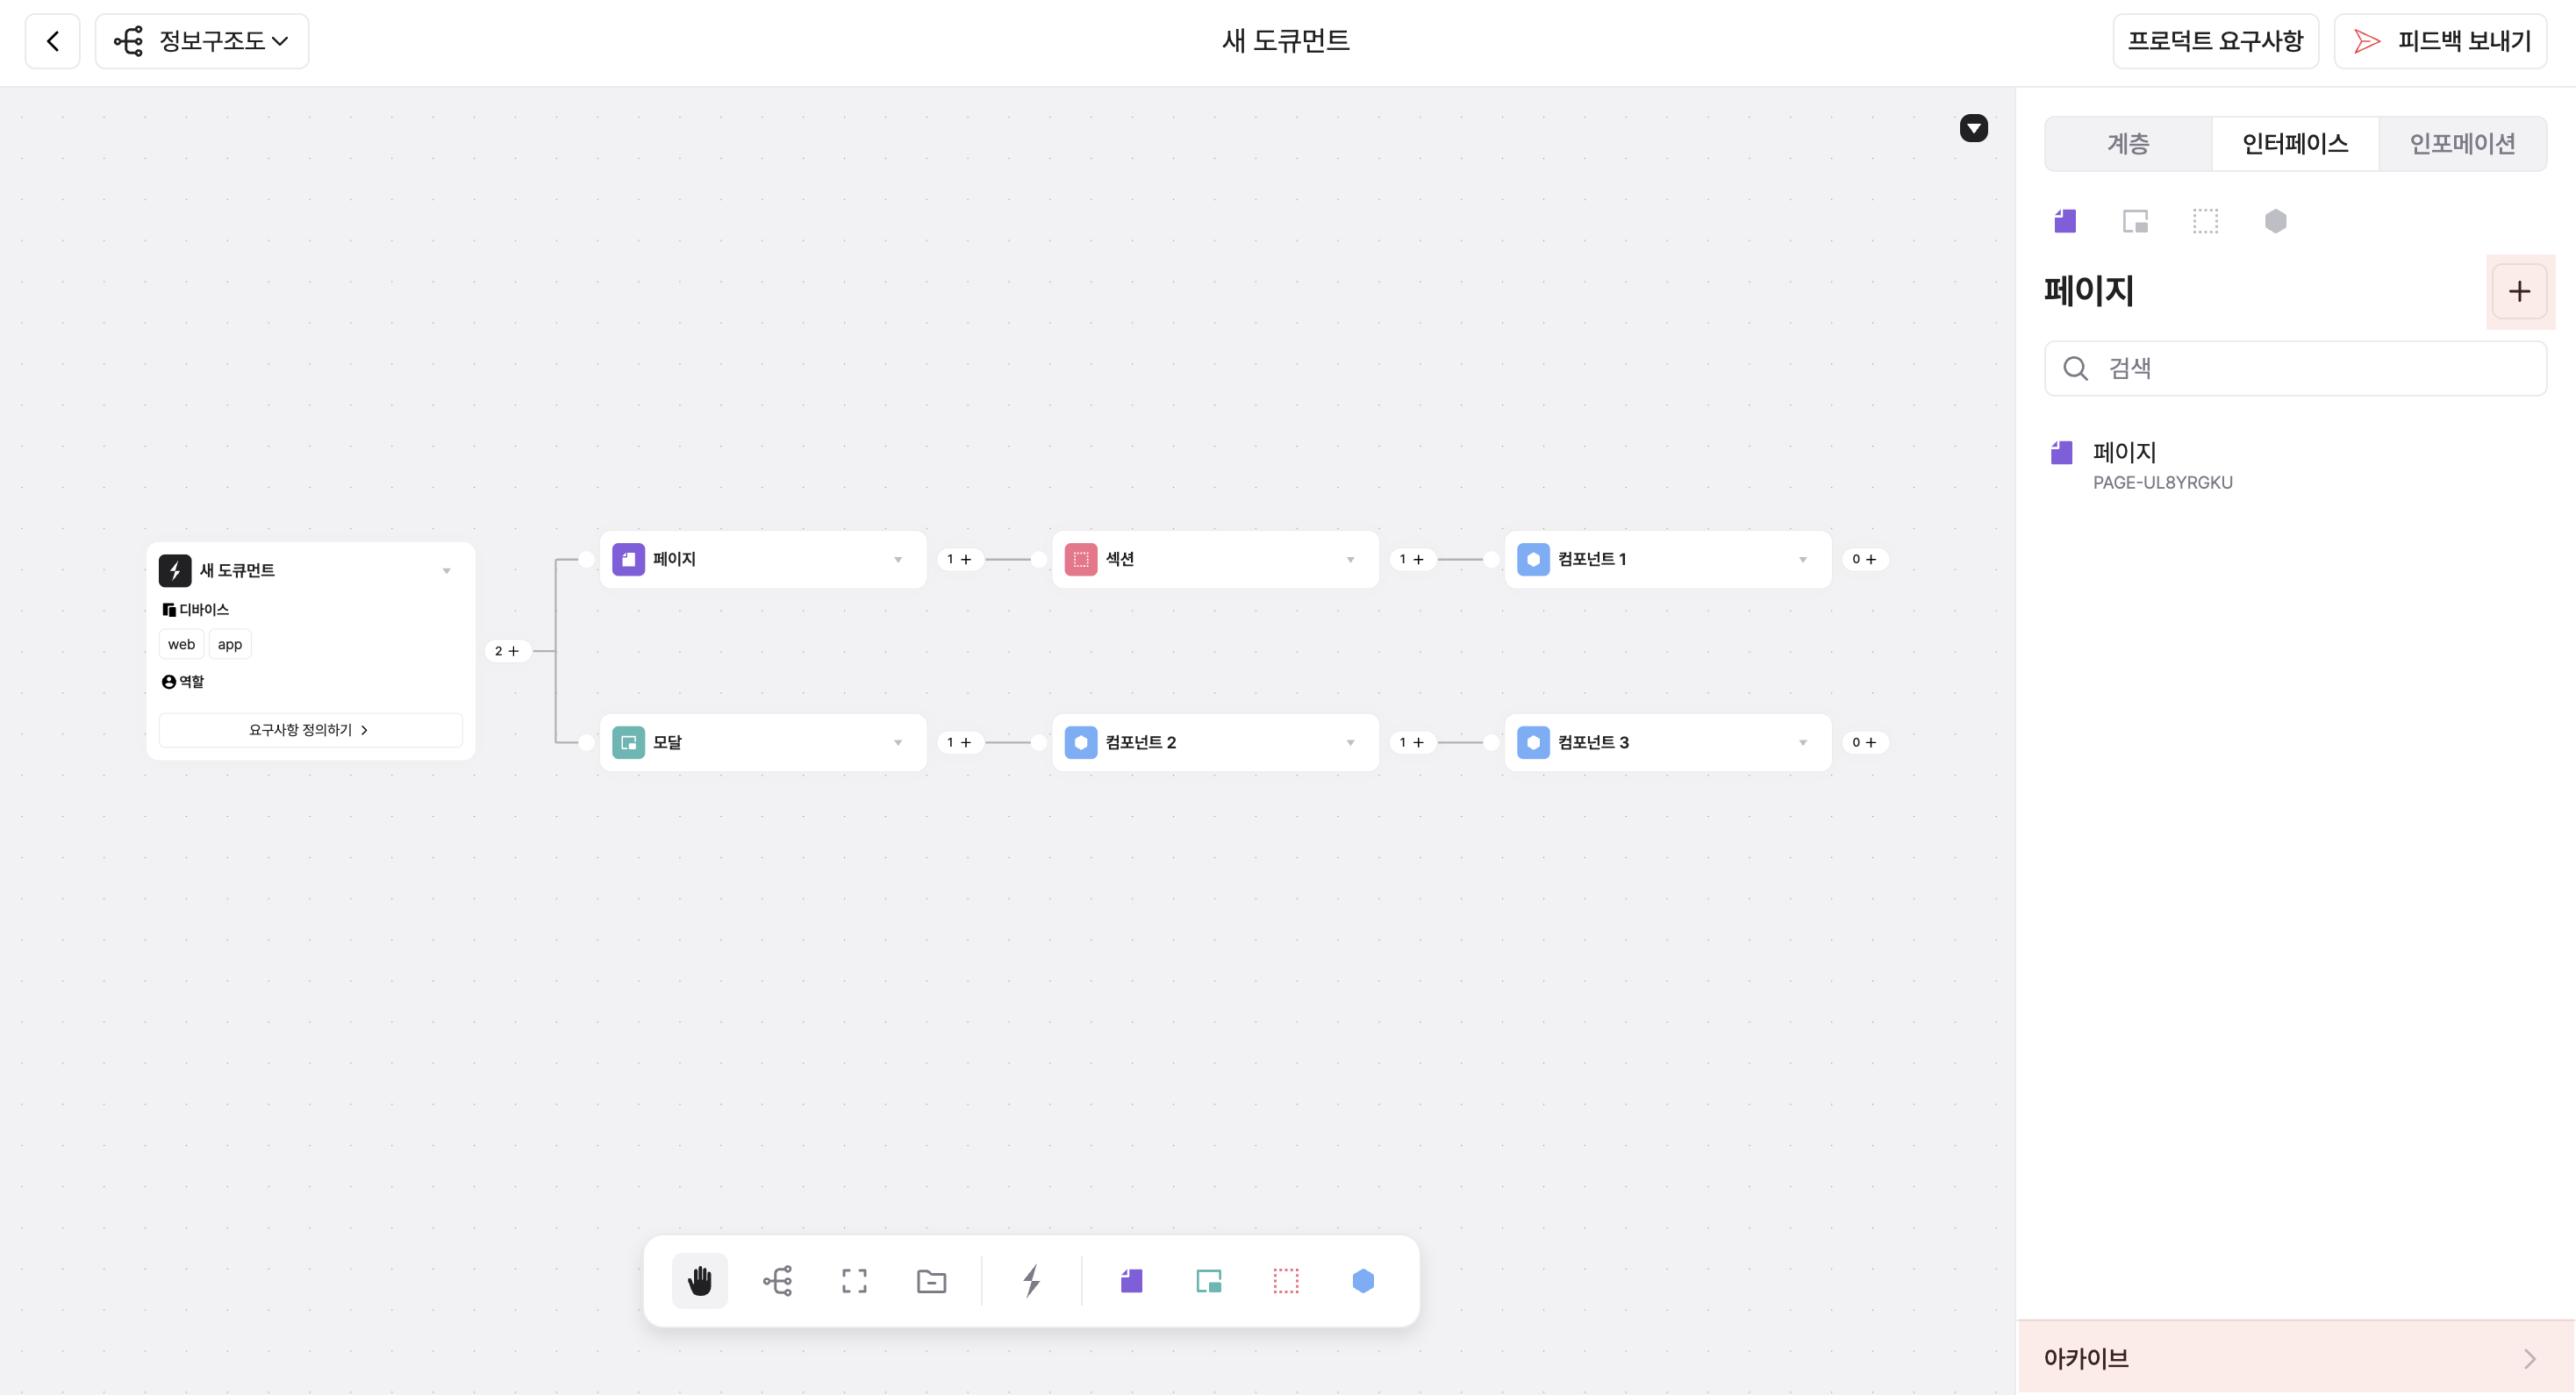
- Click the Interface tab > [+] button to create the desired item (page, modal, etc.).
- Created items are organized in a list format, allowing you to manage all screen elements and hierarchical structures of the current document at a glance.
- When you delete an item, you can find it in the Archive menu at the bottom, where you can restore or permanently delete it.
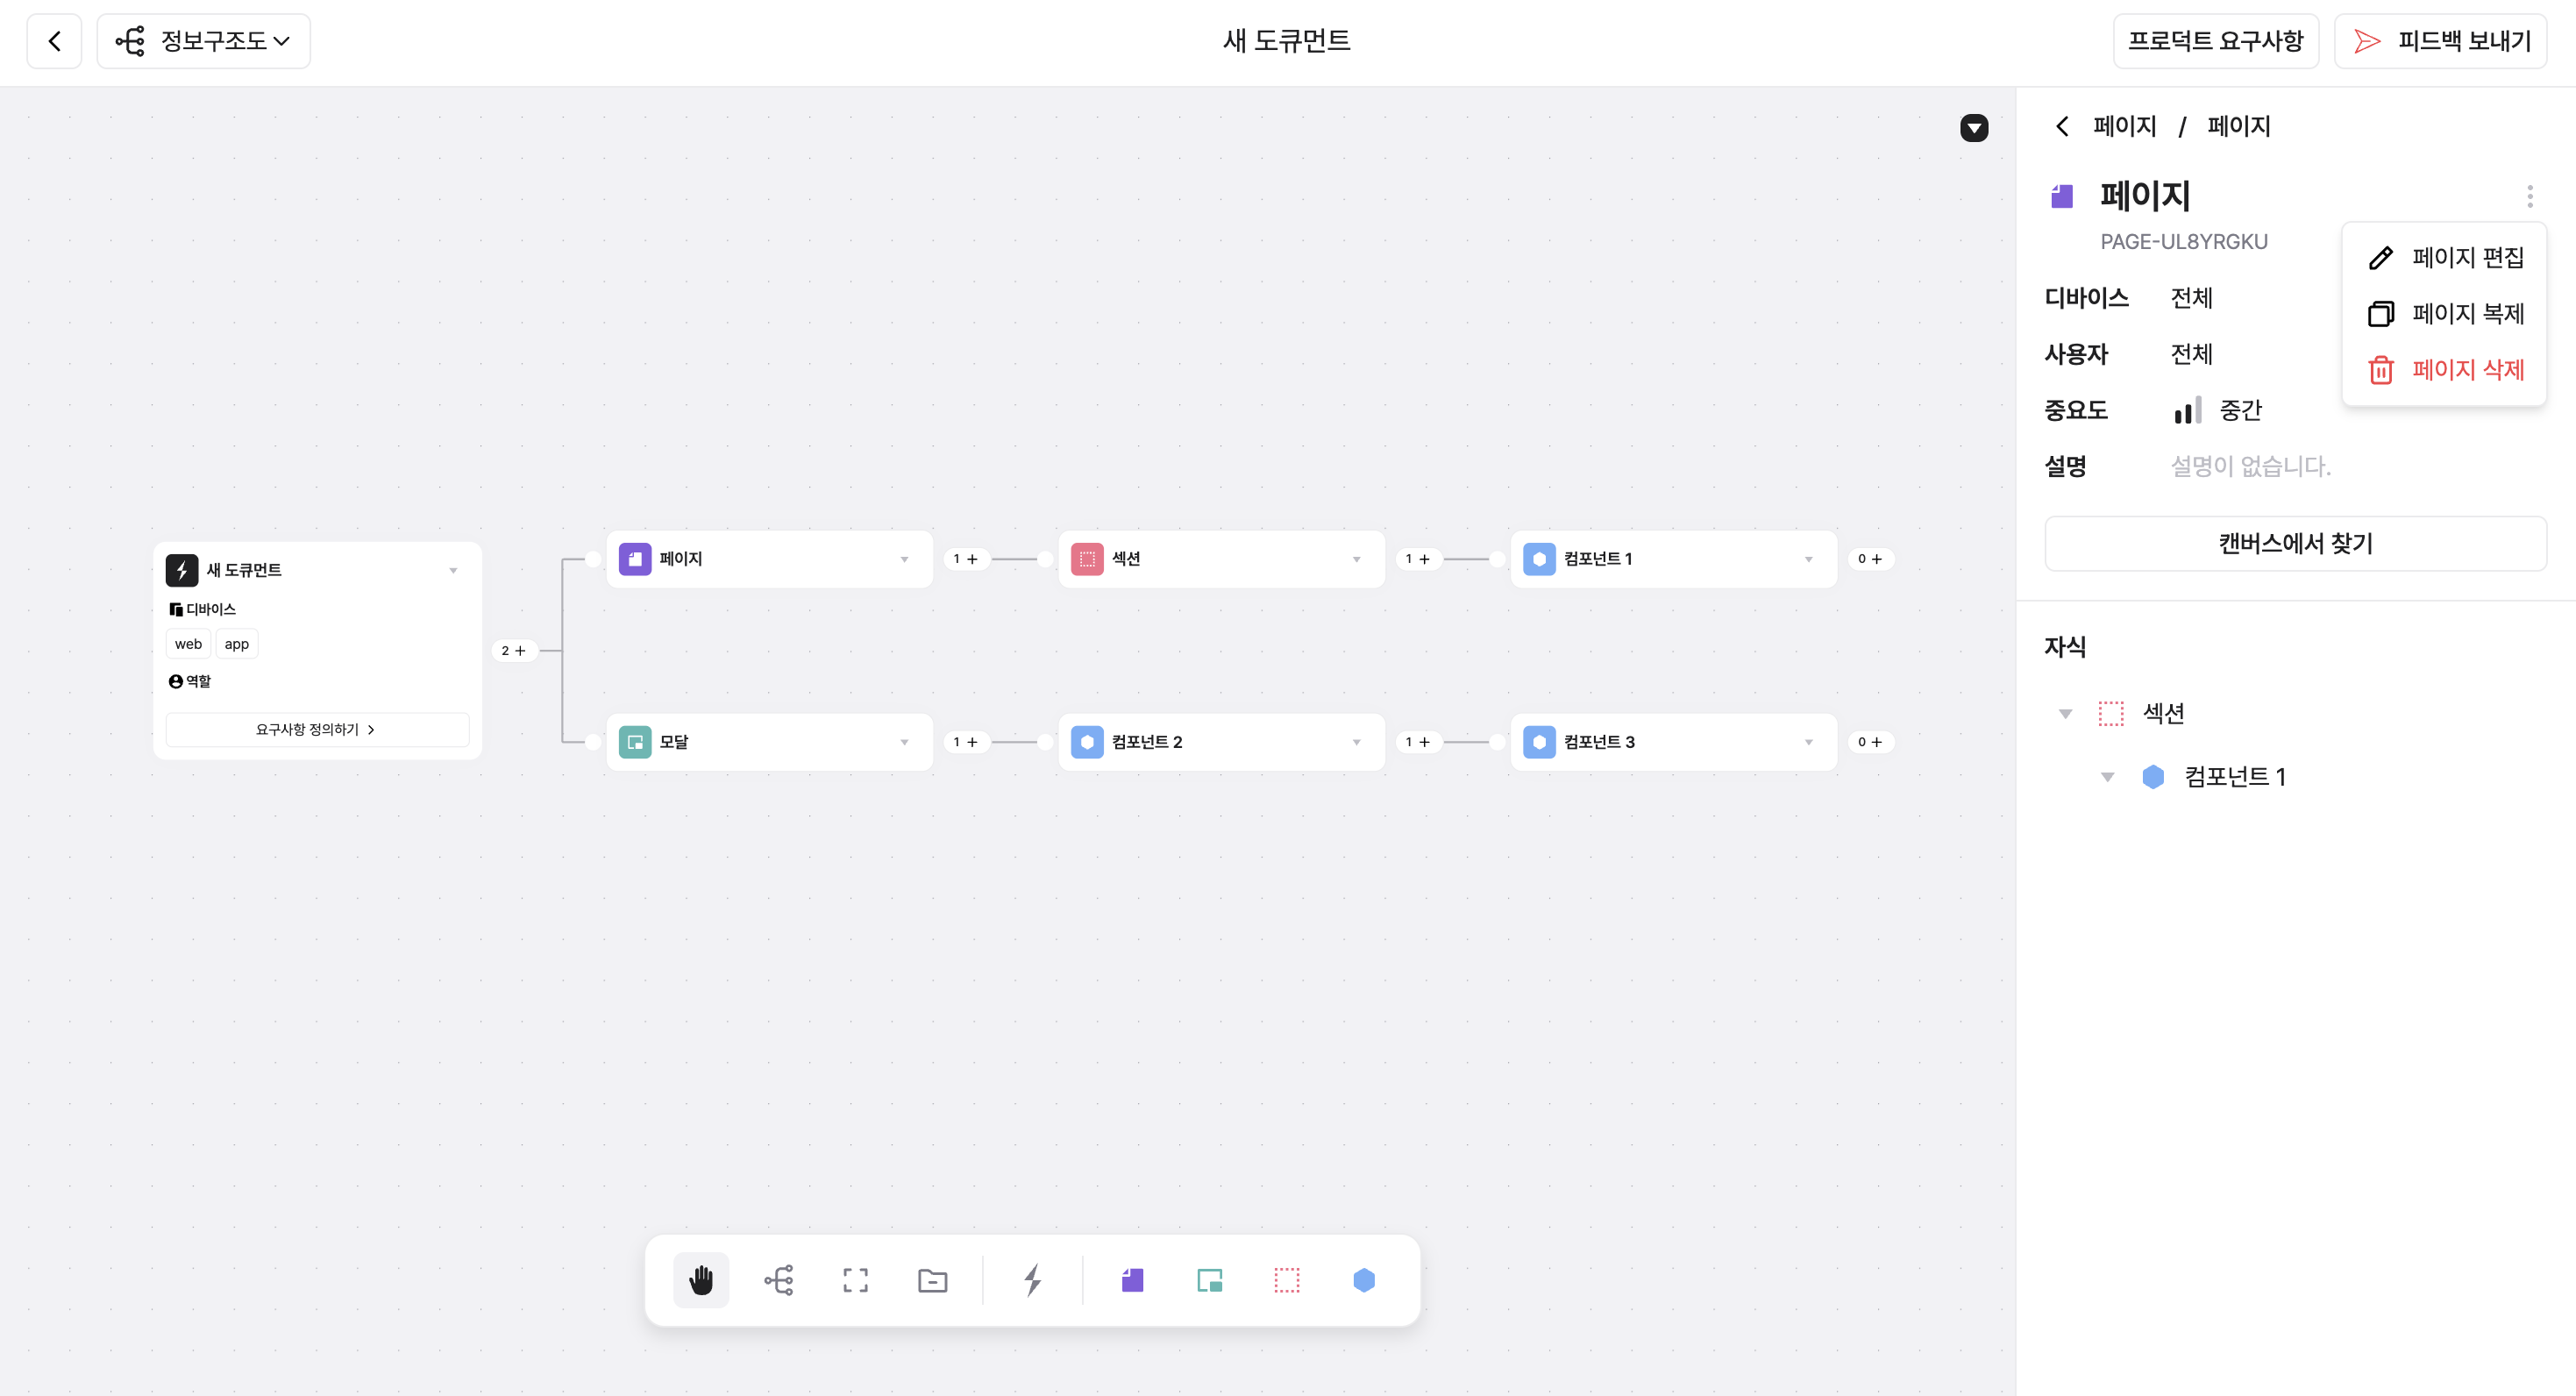
- When you select an item, you can view its details and perform editing, duplication, and deletion in this screen.
- You can select the device and user role set in the product requirements, and specify the importance of each item as 'Low', 'Medium', or 'High'.
- Click the [Find in Canvas] button to immediately locate the node where the item is positioned.
✅ Creating in Canvas
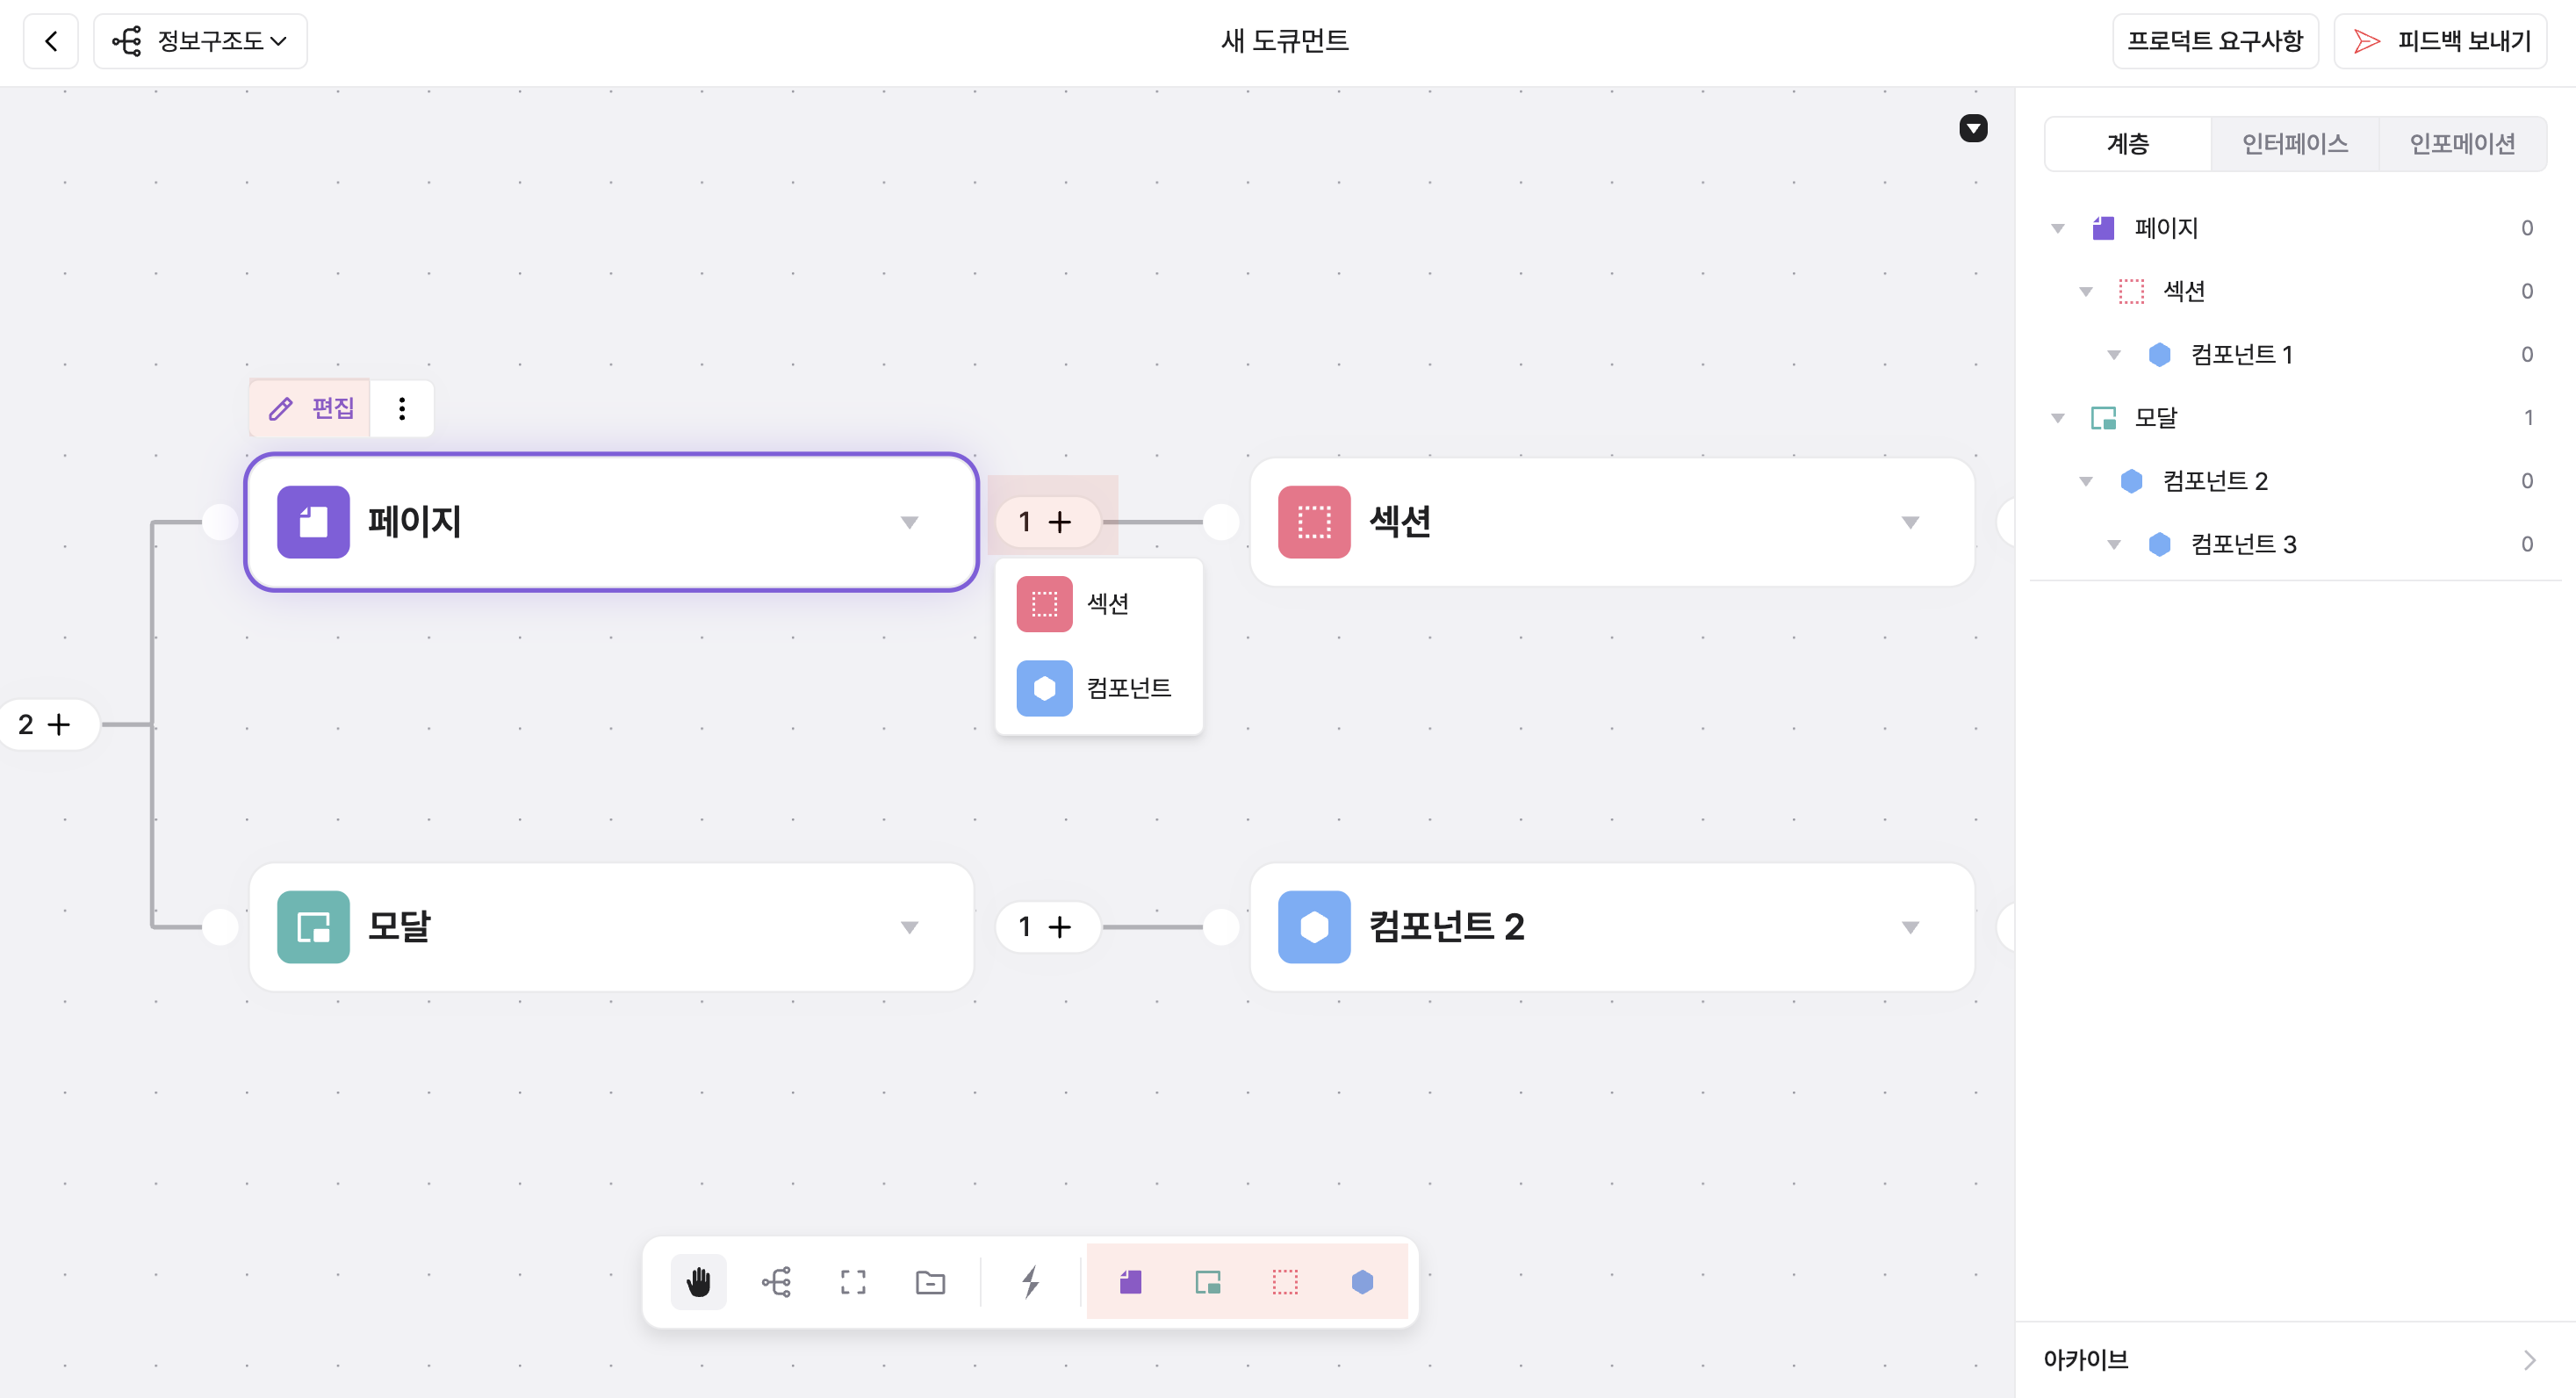
- In the Information Architecture View, select the interface icon in the toolbar to add items as nodes at the desired location.
- Or you can click the + button (handle) of an existing node to immediately create a child node.
- You can visually design the screen structure using these created nodes, and the item information connected to the nodes is automatically synchronized with the inventory.
- When you click a node, a node control bar appears at the top, where you can perform operations such as editing, duplicating, and deleting.
- Even if you delete a node, the item remains in the panel, and you can make it a node again at any time using the [Add to Canvas] button in the panel.